From Character to Panel: Making AI Manga Scenes That Actually Read as Comics
You can generate a beautiful AI character, but the moment you add dialogue and speech bubbles the whole image falls apart. A hands-on test of PixAI Tsubaki.3 shows what a manga panel actually requires — and the workflow that fixes text without destroying the scene.
AI-assisted draft. Reviewed and edited by the Phosphene team before publication.
On this page
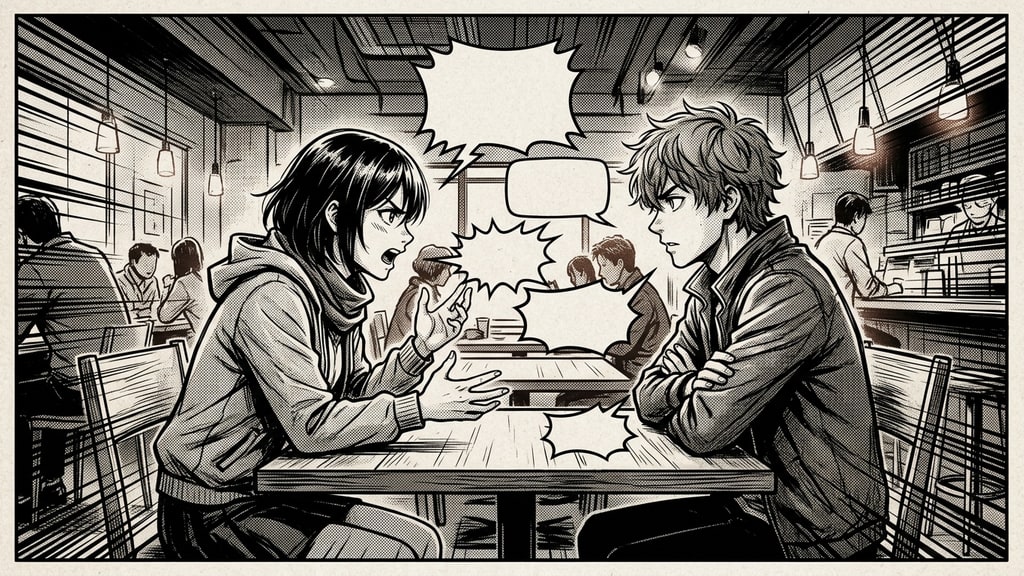
There is a gap between "I can generate anime characters" and "I can generate a manga panel," and almost everyone who tries AI manga hits it. The character comes out cute. Then you add speech. The same character suddenly looks wrong in the frame. Two characters standing next to each other do not read as a conversation. Text renders as gibberish. It feels like the model failed you.
Japanese creator Ai-Hakase, whose YouTube channel and notes document AI art workflows in detail, ran a hands-on test of PixAI's Tsubaki.3 that isolates exactly what is going on. The conclusion is sharper than "the model is bad at text": a character is an object, but a panel is a composition of competing jobs. If you only optimized for one of them, the rest collapse.
A panel is not a character
Ai-Hakase's breakdown of what a single manga panel requires is worth stealing as a checklist. A usable panel needs:
- Characters and a background or location
- Poses and expressions that carry the moment
- Spatial relationships that tell you who is talking to whom
- Dialogue, speech bubbles, and their placement
- A panel composition that guides the eye
- Screentones, speed lines, or other effects that sell motion and emotion
The point is that "what to draw" is the easy part. The hard part is "who, where, doing what, and saying what" all holding together in one frame. When you prompt for a panel as if it were a portrait, you silently drop six of these requirements and the model fills the vacuum with whatever it defaults to.
What Tsubaki.3 actually did well
Tsubaki.3 is the next-generation flagship of PixAI's Tsubaki series, currently in early access, and it is built around a strength that matters for comics: long, complex instruction following. Ai-Hakase pushed a system prompt close to 5,000 tokens into it and the model tracked the intent — character positions, expressions, a two-person conversation, per-character eyelines. That is noticeably better than what most image models do with a heavily loaded prompt, where late instructions get quietly dropped.
The practical lesson: when you generate manga work, put the scene logic in the prompt with explicit detail — who is on the left, who is on the right, who is looking at whom, what each face is doing. Tsubaki.3 rewards that specificity instead of rounding it away.
The reference-image trick that fixes panel layouts
The most transferable tip from the test is about layout, not text. Prompting a model from scratch tends to produce boring panel grids — a few vertical and horizontal lines that look more like a table than a comic. But when you supply an existing panel layout as a reference image, the model follows it much more faithfully.
So the workflow becomes: generate or prepare a layout template once (a composition of panels with the empty shapes you want), then use it as a reference when generating actual art. PixAI's official showcase demonstrates the same pattern with character reference sheets combined with layout templates. The reference is doing the structural work the prompt cannot.
Where it still breaks: text and everything-at-once
The honest part of the test is where the workflow failed. Ai-Hakase tried to get dialogue, narration boxes, speech bubbles and sound effects rendered in a single generation. The results broke: letters deformed, bubbles landed in the wrong places, and the image's coherence fell apart. Long text and small text are especially unreliable — this is the real constraint of AI manga generation, not a bug you can prompt your way out of.
The fix is separation of concerns. Generate the scene clean, then repair the text layer on top. Ai-Hakase used PixAI's Reference Pro for the repair pass: an image-editing model that keeps characters, expressions, poses, backgrounds, and the comic style intact while fixing just the broken text areas. One practical caveat: Reference Pro is a member-exclusive PixAI tool, so the repair pass is not available on the standard free plan — you need an active membership. If you do not have one, the fallback is the same idea with a different tool: run a mask-based inpainting pass that targets only the text areas, so the character art stays untouched. The key behavior to look for in any repair tool is whether it preserves everything it should not touch. A blunt inpainting pass will happily redraw your character's face to fix a bubble. A good one is surgical.
One more warning from the test: when you ask an image editor to change many things at once, details drift. Keep the edit simple and targeted, or accept the drift.
Manga, webtoon, and anime-style are different layouts, not different skins
The test ends with a smart comparison: the same characters and the same dialogue generated three ways — classic manga (monochrome with screentones), webtoon (vertical, full color, soft), and anime-style (cel-like, saturated, strong highlights). The differences are not just "paint job." Each format has a different eye flow and a different readability contract. Webtoon panels are tall because readers scroll; anime-style frames lean on dramatic color and light because the "motion" is implied; classic manga leans on contrast and screentone density.
If you are building a comic workflow, decide the format first. The prompt, the panel layout, and even the text treatment change with it. A single "anime aesthetic" prompt that ignores the reading format will keep producing panels that look nice and read wrong.
The practical workflow, condensed
- Decide the format (manga / webtoon / anime-style) and build a layout template for it.
- Generate a reference sheet for your characters first — consistency across panels starts before the first panel.
- Prompt the scene with explicit spatial and emotional logic; use the layout template as a reference image.
- Generate the scene with text either minimal or absent.
- Repair text and bubbles in a targeted editing pass with a consistency-preserving tool.
- Check that characters, poses, and backgrounds survived the repair pass.
The meta-lesson is to stop treating the model as a comic generator and start treating it as a per-job instrument: one pass for structure, one for scene, one for text. That division of labor is what makes AI manga panels actually read as comics, and it is the difference between a pretty frame and a panel that tells a story.