One Standing Image, Then a Character Library
A full-body tachie is the base asset for a reusable character. How to build one on PixAI Tsubaki.3, expand it into expression, pose and costume variants, and where consistency still breaks.
AI-assisted draft. Reviewed and edited by the Phosphene team before publication.
On this page
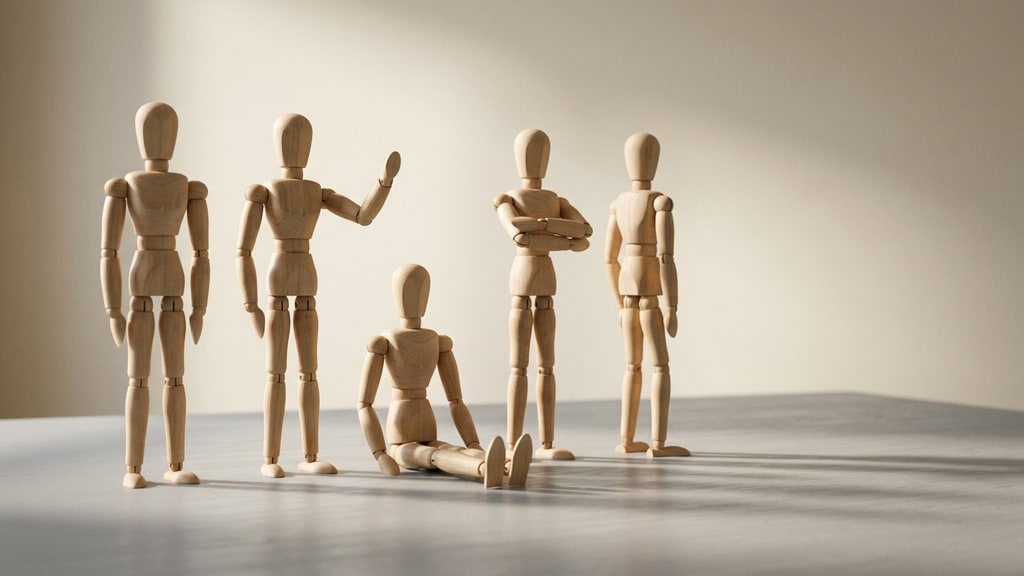
Generating one good character image is not the hard part anymore. The hard part is image five, where the hair silhouette has quietly changed shape, the eye colour has shifted a shade, and the character has become a cousin of the one you approved.
There is a Japanese term for the asset that solves this, and it is worth stealing. 立ち絵, or tachie, is a full-body standing illustration: the character on their feet, neutral pose, plain background. Visual novels use them, so do VTubers, stream overlays and blog mascots. The reason it works as a base asset rather than a picture is that it carries hair, outfit, build and mood in one frame. A headshot icon cannot do that, and a text description definitely cannot.
Ai-Hakase wrote a long piece in mid-October on building one with PixAI's Tsubaki.3, then expanding it into a working library. The useful part is not the model. It is the discipline around it.
Part pickers versus generation
There are two ways to get a tachie. Part-based character makers let you choose hair, eyes and clothing from a catalogue and assemble them. Generation has no catalogue; you describe and it draws.
The creator's framing is that these are not competitors, they are different trades. A maker gives you a consistent format fast, and the same visual language across every character you build, at the cost of a small pool of parts. Generation removes the pool limit, and costs you a different problem: you now have to specify everything yourself, or the model will decide for you.
Her conclusion is that generation is now fast enough to be the default, and she keeps makers for people who want to hand-tune parts. Fine. But the important half of that argument is the second clause, because "the model decides for you" is where all the drift in the fifth image comes from.
Decide before you prompt
The single habit that separates a reusable character from a lucky result: write the character down as decisions, not as a vibe.
"Cute girl" hands the model a dozen open variables, and it will resolve them differently on the next run. The creator's walkthrough pins roughly ten of them, and one of her specific recommendations is easy to adopt today: fix three colours up front, hair, eyes and outfit, and keep that palette stable across every image in the set. Tsubaki.3 also has a colour palette feature for organising the scheme, which is worth using if you are not confident picking colours by eye.
The ten I would write out, in the order that seems to cause the most drift:
- Build and proportion, stated as a ratio if the style uses one
- Hair, as colour plus length plus silhouette, not just "long hair"
- Bangs and fringe shape, which changes the read of the face more than the length does
- Eye colour, shape and highlight treatment
- Base outfit, listed as pieces rather than a single noun
- Accent colours and where they sit
- Accessories that must appear in every image, because they are the fastest identity check
- Background, which for an asset should be plain
- Framing, with the whole body inside the frame and consistent headroom
- An explicit do-not list
That last item is not decoration. Negative instructions are how you keep a style from drifting back to the default look of the model, and they are cheap to write once and reuse forever.
For the fuller version of the same idea, the text-first character design method and the prompt order findings both apply here.
Cheap drafts, expensive finals
The workflow in the article runs in two tiers, and the economics are the reason. A fast, credit-light variant is used to hunt the direction, and the full model renders the keepers. Tsubaki.3 natively supports up to 2048x2048, which is more than enough for a character sheet you will crop into pieces.
Two cost lessons from the source, both slightly counterintuitive:
- Do not open on the highest-fidelity tier. It looks better and costs more per attempt, so it burns credits on images you were going to discard anyway. Look at the model page examples first, so you know the target before you spend.
- Generate one at a time rather than in batches of four, at least for the base asset. The creator's finding is that the prompt auto-conversion and refine stage behave less predictably in bulk, and the batch is only worth it when you are hunting a mood rather than locking an identity.
Route the edit to the right tool
Once the base image exists, PixAI splits editing across several models, and the creator gives a routing rule that is more useful than any single model recommendation:
- Complex or multi-part instructions go to the base model
- Pose and costume swaps go to the lighter editor
- Anything that must stay tightly on-model, including changing text in the image, goes to the reference-locked editor
The practical value of writing that down is blame assignment. When a result misses, you can tell whether the instruction was wrong or the tool was wrong for the job, which is the difference between fixing your prompt and flailing for an hour.
One image, then a matrix
Here is where the library idea matters. The creator expands a single tachie four ways:
- Expression variants: smiling, surprised, blushing, serious
- Pose variants: waving, sitting, arms crossed
- Costume variants: casual clothes, pyjamas, cafe-staff apron
- A three-view sheet, front, side and back, which is what makes the character reproducible by someone else
That last one is the item most people skip, and it is the one that pays. A turnaround sheet is what you hand to a collaborator, what you feed into a video pipeline, and what you would use as training input if you eventually train a character adapter. We laid out the dataset side of that in the LoRA dataset strategy, and the pose reference sheet approach shows how far a controlled sheet can carry a video workflow.
Her walkthrough also expands a finished tachie into scene and poster compositions, which is the natural next step once identity is an asset instead of an accident.
Where consistency still breaks
Two failure modes are named in the source, and both are worth planning around: the character reads as somebody else, and drift accumulates gradually across a long session so that the tenth image no longer matches the first.
The mechanism behind the second one is the useful part. In a zero-shot generation setup, holding the seed fixed does not hold the character: the creator states plainly that faces and fine details still change between runs. That is not a bug in one tool, it is how the sampling works, and it is the strongest argument for editing an approved base plate instead of re-describing the character from scratch each time.
The remaining caveat is on the edit side. Reference editing generally keeps the character while letting details move, and hands and small accessories are where it moves first. Her escalation for when it has to be exact is to add a reference-locked model rather than pushing the same one harder.
Accept the library before you build on it
A character library is an asset with a spec, so test it once and write the result down:
- Put the base tachie, one expression variant and one costume variant side by side at 100% crop.
- Compare hair silhouette, eye shape and the three pinned colours. Those three catch most drift.
- Show the set to someone who has not seen the character and ask one question per image: same person, yes or no.
- Save the approved sheet as the canonical reference, and treat any future prompt as something to run against that sheet rather than against your memory of the character.
Do that, and the fifth image stops being a gamble. The model was never the part that was going to keep you consistent.