Text-First Character Design for AI Image Generation
A practical workflow for turning a loose character idea into a usable creative brief before you generate images, variants, or short videos.
AI-assisted draft. Reviewed and edited by the Phosphene team before publication.
On this page
- Why text comes before pixels
- Step 1: start with a messy one-sentence seed
- Step 2: make the AI ask questions, not write lore
- Step 3: separate identity from styling
- Identity layer
- Styling layer
- Step 4: build a character bible small enough to use
- Step 5: generate the boring sheet before the beautiful image
- Step 6: make every rejected image teach the brief
- A compact prompt you can reuse
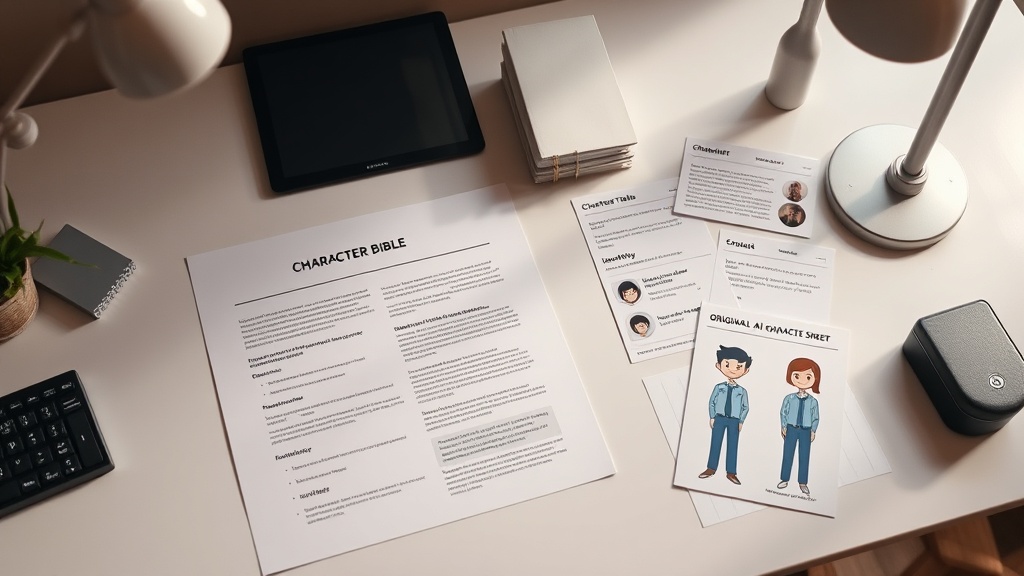
The fastest way to waste an afternoon with AI character art is to open an image model too early.
You have a rough idea: a cool idol, a cyberpunk courier, a fantasy mechanic, a mascot for a product. You start generating. The first image is almost good, so you keep rolling. Ten variations later the face has changed, the outfit logic is random, and you still cannot explain who the character actually is.
The fix is not a better negative prompt.
The fix is to design the character in text before you design the character in pixels. A strong visual character starts as a small creative brief: identity, role, constraints, contradictions, and the few traits that must survive every image.
Why text comes before pixels
Image models are excellent at surface. They can invent hair, lighting, clothing, camera angles, and style language in one pass. That is also the problem. If you ask for everything at once, the model fills the gaps with its own defaults.
A loose prompt like this looks harmless:
Create a cool AI idol character, futuristic, stylish, blue and silver, anime style, high quality.
It will produce something. It may even look good. But it has no design contract. Nothing tells the model what must stay stable, what can change, or why the character should be memorable.
Before generating the first portrait, write the answer to five questions:
- Who is this character?
- What role do they play in the world?
- What visible traits make them recognizable?
- What emotional contradiction makes them interesting?
- Which traits are locked, and which traits are allowed to vary?
That is the difference between a one-off image and a character you can reuse.
Step 1: start with a messy one-sentence seed
Do not begin with a huge lore document. Start with a deliberately rough sentence.
A reserved virtual idol who was born from concert-hall feedback noise and becomes more real when the crowd reacts.
This is already stronger than “cool AI idol” because it gives the character a mechanism. The crowd is not just background. It affects her existence. That mechanism can later become visual details: waveform accessories, reactive lighting, glitching when the room is silent, stage clothes that look partly like audio hardware.
A good seed usually contains:
- role — idol, courier, mechanic, archivist, detective, mascot
- origin — born from noise, built by a forgotten lab, raised in a floating market
- pressure — wants attention but fears being seen, protects others but hates being touched
- visual direction — soft cyberpunk, editorial fantasy, toy-like mascot, handmade streetwear
Keep it short. The goal is not to finish the character. The goal is to give your chat model something specific enough to interrogate.
Step 2: make the AI ask questions, not write lore
Most creators use ChatGPT or Gemini as a vending machine for names and backstories. That produces generic lore. Use it as a design interviewer instead.
Prompt it like this:
I am designing an original character for AI image generation. Do not write the final character yet. Ask me 10 focused questions that will help define the character's role, visual identity, personality, world, and repeatable image-generation traits. Keep the questions practical for later prompt writing.
The important phrase is “do not write the final character yet.” You want pressure-testing before prose.
Good questions force decisions:
- Is the character admired, feared, ignored, or misunderstood?
- What object or symbol follows them across every image?
- What flaw makes them human?
- What should never change visually?
- What can change from scene to scene?
- What kind of world makes this character make sense?
Answer quickly. Do not optimize. Character design improves through narrowing, not through adding twenty more aesthetic adjectives.
Step 3: separate identity from styling
Once you have raw answers, split them into two layers.
Identity layer
This is the part that should survive every generation:
- name or working codename
- age range or body language
- face shape and expression tendency
- hair silhouette
- key color accents
- signature object, emblem, or accessory
- emotional contradiction
- role in the story or brand world
Styling layer
This can change by campaign, scene, or visual format:
- outfit variant
- background
- season
- pose
- lighting
- camera distance
- illustration style
- medium: portrait, poster, sticker, storyboard frame, short-video reference
Most bad AI character sets fail because identity and styling are mixed together. The prompt changes the jacket, location, pose, mood, and art style all at once. The model does not know which parts are sacred, so it mutates the face, hair, and silhouette too.
Write the distinction explicitly:
Locked identity: short black twin-bun hair with blunt bangs, silver cropped jacket, pink top, blue-pink legwear, fast reactive personality, overconfident but easily embarrassed.
Variable styling: camera angle, stage or street setting, expression intensity, seasonal accessories, lighting color, poster composition.
This does not make the model perfect. It gives you a checklist for judging outputs.
Step 4: build a character bible small enough to use
A useful AI character bible is not a novelist's wiki. It is a production document you can paste, trim, and reuse.
Use this structure:
## Character core

Name:
Role:
One-sentence concept:
Emotional contradiction:

## Locked visual traits

Face / expression:
Hair:
Outfit silhouette:
Palette:
Signature object or symbol:

## Variable traits

Allowed outfit changes:
Allowed environments:
Allowed moods:
Allowed camera language:

## Never change

-
-
-

## Prompt-ready summary

A concise image-generation description in 80-120 words.
The “never change” section is the most underrated part. It prevents accidental redesign.
For example:
Never change: twin-bun silhouette, silver jacket, pink-blue palette, small waveform hair clips, cool public persona with visible private awkwardness.
That line is more useful than a page of backstory when you are generating a sheet of expressions, thumbnails, or video references.
Step 5: generate the boring sheet before the beautiful image
Do not start with a cinematic poster. Start with a reference sheet.
Your first image prompt should be boring on purpose:
Character design reference sheet, front view, three-quarter view, neutral pose, clean white background, full body, consistent outfit, visible face, clear hair silhouette, readable accessories, no dramatic lighting, no motion blur.
This gives you a baseline. Once the identity works in neutral conditions, move to expression sheets, outfit variants, scene tests, and short-video references.
A practical order:
- Neutral reference sheet — check silhouette and outfit logic.
- Expression sheet — check whether the same face survives emotion changes.
- Outfit variant sheet — change clothes while preserving identity markers.
- Scene placement test — put the character into one environment.
- Poster or hero image — only after the character is stable.
The glamorous output comes last. Stability comes first.
Step 6: make every rejected image teach the brief
Bad generations are not just trash. They are feedback.
When an output fails, label the failure in plain language:
- hair silhouette changed
- face became too mature
- jacket lost its cropped shape
- palette drifted from pink-blue to purple
- character looks shy instead of controlled
- accessory disappeared
- background overpowered the design
Then update the bible. Do not keep adding random adjectives to the next prompt. Add a sharper constraint.
Weak fix:
Make it better and more consistent.
Useful fix:
Preserve the short twin-bun silhouette and silver cropped jacket. Do not lengthen the hair. Keep the face youthful, composed, and slightly guarded. Background must stay secondary.
This is how a character becomes a system instead of a lucky image.
A compact prompt you can reuse
Here is a starter prompt for the text-first stage:
You are helping me design an original character for repeated AI image generation. First, interview me with 10 practical questions. Then turn my answers into a compact character bible with locked identity traits, variable styling traits, “never change” rules, and an 80-120 word prompt-ready summary. Avoid generic anime descriptors unless they define a visible trait.
And here is the image-generation handoff prompt:
Create a clean character reference sheet based on the following character bible. Prioritize recognizable identity markers over dramatic styling. Use a neutral background, full-body front view, three-quarter view, and one close-up headshot. Keep outfit silhouette, palette, hair shape, face proportions, and signature accessory consistent.
If you use Phosphene, this maps naturally to saved tag groups: identity tags stay locked, while scene, lighting, outfit, and camera tags become variables. But the principle is tool-agnostic. Design the character's rules first; then let the image model explore inside those rules.
A character is not consistent because the prompt says “same character.” A character is consistent because you gave the model fewer ways to forget who they are.