Fast motion breaks the model, and the fix lives in timing
A Japanese ComfyUI anime workflow adds a stage most pipelines skip: find the segments where motion outruns the frame, slow them down, refine the drawing at that pace, then retime to the original speed. It is a temporal repair, not an upscale, and it comes with a retiming bill.
AI-assisted draft. Reviewed and edited by the Phosphene team before publication.
On this page
Take a five-second anime clip at 1080p. Locally that is eight minutes or more, which is why people cut the step count. Cutting the step count is also why fast movement falls apart, which sends them back to full steps. And when a take finally works, re-rendering it at higher resolution hands back a different take: new face, new pose, and the run that landed on the beat no longer lands.
Hakase Ai, a Japanese ComfyUI builder who publishes as Ai-Hakase, lays out a workflow that splits those problems apart. The draft-and-finish half of it, settling a shot at roughly half a megapixel before upscaling to 1920×1088, is a pattern already covered here: the three-pass relay we wrote about in August does the same thing with audio refinement bolted on. His speed figure for a five-second clip is about 500 seconds one-pass at 1920×1088 against roughly 120 seconds for the split version on an RTX 5090. Treat that as a ratio measured on one card for one clip, not a promise.
The stage worth reading twice is the third one, because almost nobody builds it: a repair pass that works on time instead of pixels.
Smear is not a resolution problem
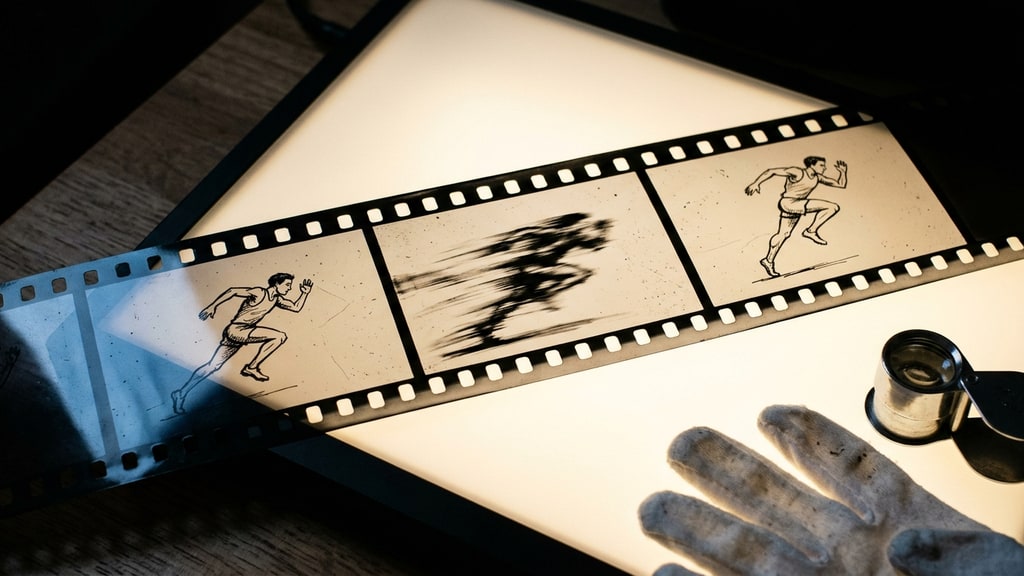
At high angular velocity the model cannot commit to a shape. A limb going through an arc gets drawn twice in one frame, a face turns and loses its features for four frames, line work dissolves into what animators call a smear and what everyone else calls "the AI look". You see it in fight scenes, whip pans, dance turns, anything where the subject crosses more than a body width per frame.
The instinct is to throw resolution at it. That is the wrong tool, and the reason is structural: a per-frame upscaler looks at one frame at a time, with no idea that the frame is a snapshot of something moving quickly, so it does what it is trained to do and invents edge detail. Video super-resolution models that borrow from neighbouring frames are a real exception, but they are still reconstructing a shape the generator never committed to. The mush gets sharper. It does not get more correct. You end up with crisp, high-definition confusion.
The workflow handles it in time. It looks for the segments where motion outruns the frame rate, slows those segments down, refines the drawing at the slower pace, then speeds them back to the original timing. The deliverable keeps its duration and its beat. Only the physics inside the problem changed.
Why slowing down works
Displacement per frame is the whole story. A character crossing half the frame width in one frame is asking the model to invent a shape it has never been trained to draw. The same motion spread over two or four frames is a motion the model has seen a million times: ordinary movement, ordinary arcs, ordinary in-betweens. You are not making the task easier by adding detail. You are making it easier by lowering velocity, which is the one variable the model is actually bad at.
This is the same trick as shooting sport at a high frame rate so the slow-motion replay is readable, or drawing more in-betweens on a fast action cut. Animation has always solved fast motion by adding frames, not by adding resolution. Diffusion models just made the reverse assumption feel natural, because resolution is the knob that is sitting right there in the interface.
What the retime costs
Three bills, and it is worth knowing them before you build the stage.
Interpolation. Going back to the original speed means generating or dropping frames, and either way a repaired segment can wobble where the surrounding frames are steady. Even multiples help: slow to exactly half, retime at exactly two, and the frame arithmetic stays clean instead of accumulating drift.
Audio. This is where the pipeline quietly breaks. If the clip carries sound, slowing the picture changes the relationship between image and sound, and if the audio came from the draft, it will not slow with the video at all. Keep audio out of the repair path, conform it at the very end against the finished picture, and check sync at the start, the middle and the end of the repaired window rather than at the top of the clip.
False positives. Some smear is correct. A whip pan is supposed to streak. An impact frame is supposed to break the drawing. A detector that flags every motion spike will sand down exactly the moments you were trying to keep, so the threshold needs an eye on it, and the repair window needs an in and an out that a human chose.
Doing it without their file
The workflow itself sits behind a paid membership, so the settings are not yours to copy. The stage is not hard to rebuild in any tool that lets you slice and re-render a clip.
- Find the windows. Scrub at 100% and look for the frames where a limb or a face loses its outline. If you want to be systematic, compute frame-to-frame differences and sort the spikes, then confirm each one by eye.
- Slow only that window, at an even multiple. Half speed is usually enough. Two-thirds makes the retime arithmetic annoying for no gain.
- Refine at the slower pace with the structure locked. Low denoise, same init, and a prompt that talks about line quality rather than action. If the repair prompt restates the movement, the pass will re-decide it and you are back to chasing takes.
- Retime to the original duration, then verify the frame count and the total length against the source before you cut it back into the timeline.
- Re-lay the audio on the original timebase and check sync inside the repaired window.
- A/B the seam. The two frames either side of the repair should match in line weight and density. If the repaired section is cleaner than its neighbours, you have flagged a production tell.
Where the trick stops
The upscaler in this workflow is trained on animation, and he says plainly that photographic input comes out too smooth, skin losing its texture. Live-action needs a different finish, which he promises to cover later. If your footage is not drawn, skip this one.
At half a megapixel, hatching, screentone and fabric pattern are implied rather than resolved, so the finishing pass will happily draw plausible detail that is not yours and will not hold still between frames. Crop to 100% around the eyes, the hands and any patterned surface, and step through five consecutive frames before you believe a finish. Boiling lines show up there and nowhere else.
A weak draft scales faithfully. If the timing is wrong at half a megapixel it is wrong at 1080p, and now each attempt costs more to discover it. That is the argument for spending the retakes early: the retake is the expensive part is the same lesson from the still-image side.
The habit worth keeping
Classify the defect before you pick the tool. Resolution and texture are spatial problems, and an upscaler or a detail pass is the right answer. Motion and geometry are temporal problems, and no amount of per-frame detail will fix them. Most of what gets described as "AI video looks wrong" is both at once, which is why pipelines that buy one pass and hope tend to spend twice.
The split the workflow makes is a decent default: decide cheap, finish expensive, repair motion in time and surface in pixels. Judge the draft as the real deliverable, since everything downstream multiplies it, mistakes included.
If the prompts themselves are the weak link, writing the camera as facts rather than moods is the adjacent discipline, and running MiniMax H3 on your own machine covers whether a two-pass workflow is even affordable on your card.