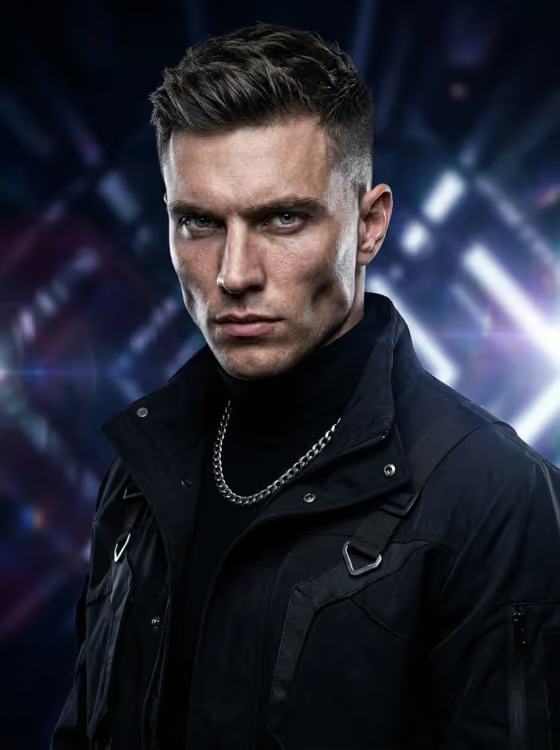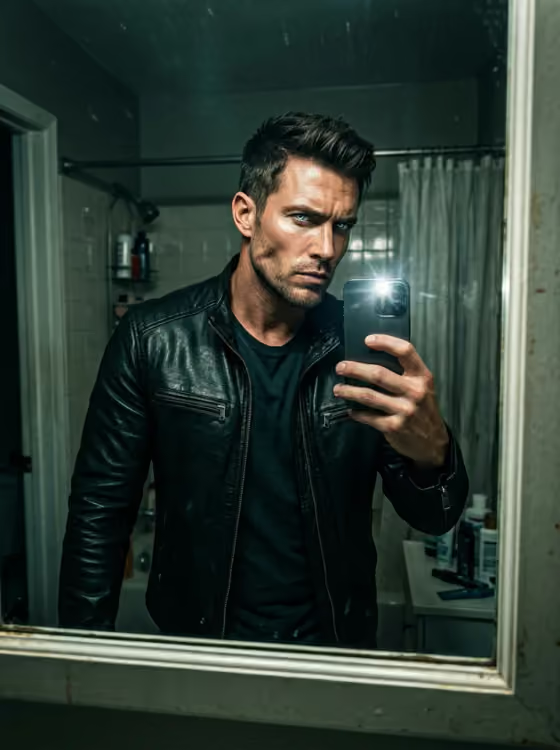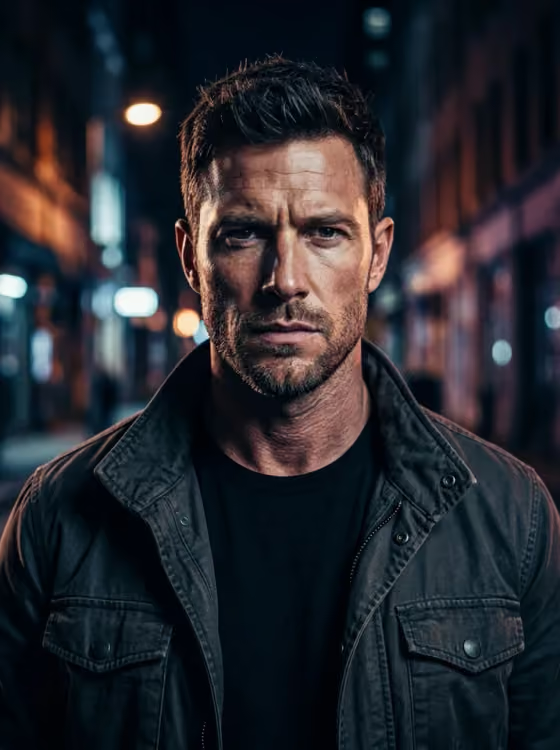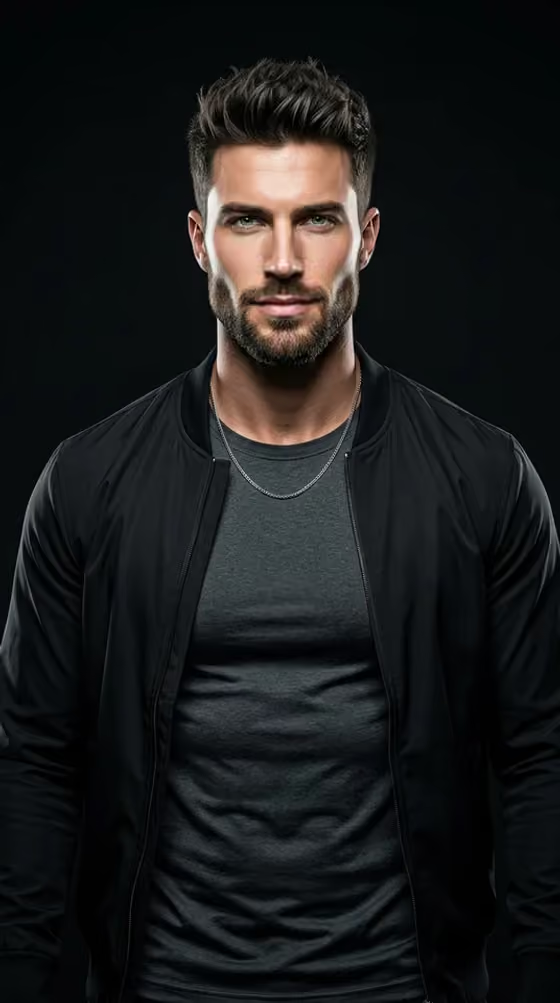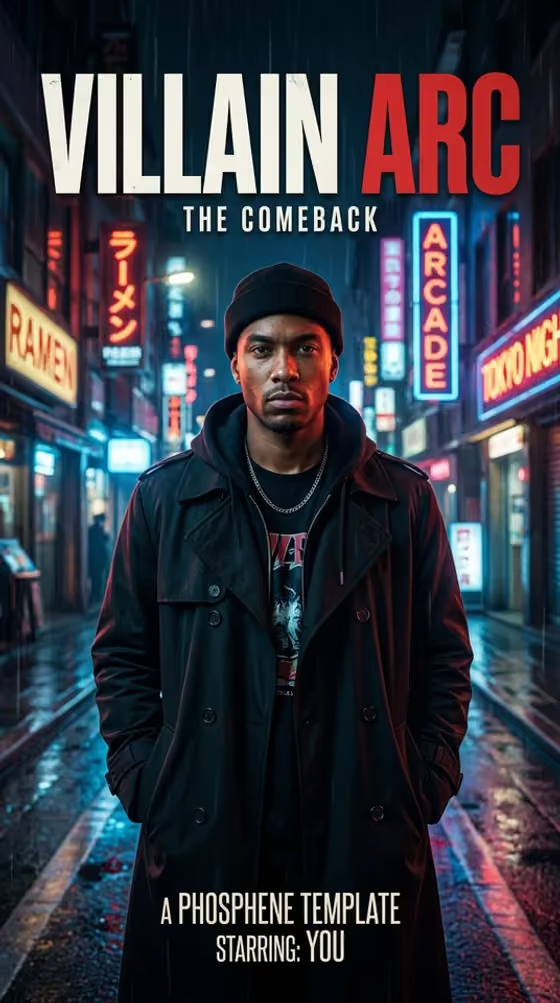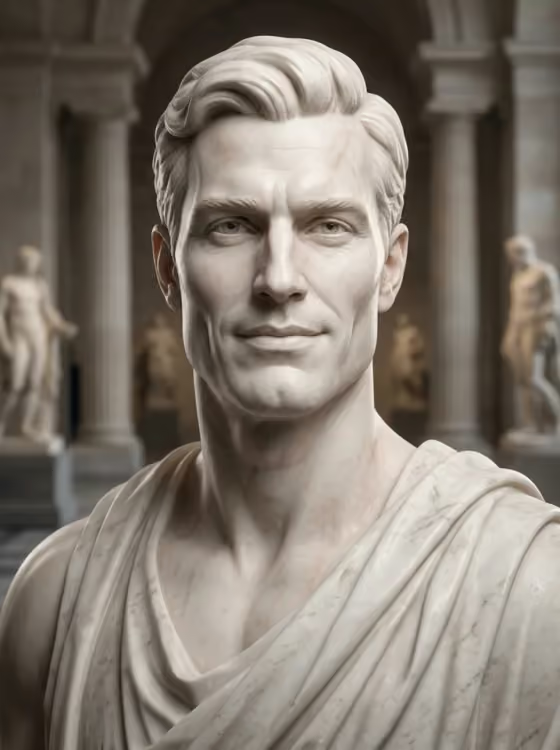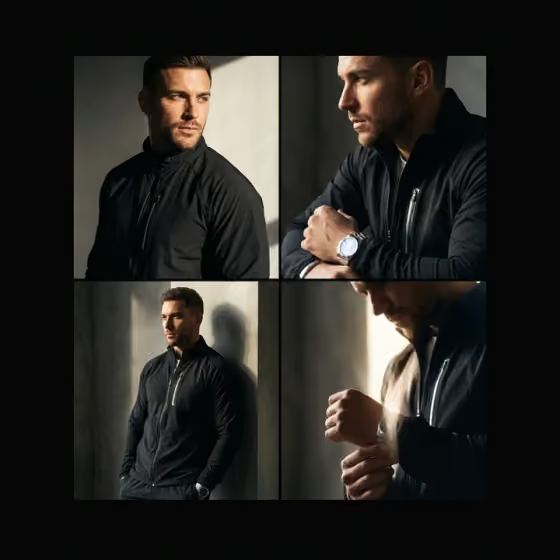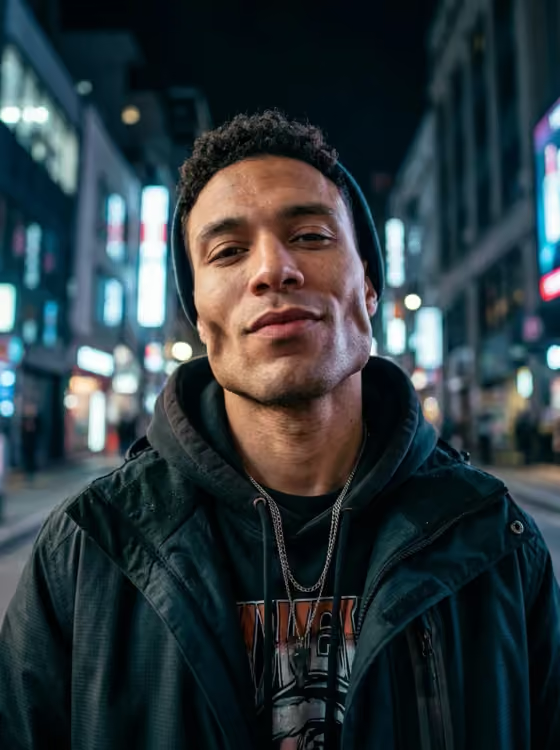
Jawline DLC takes one portrait of you and turns it into a playful, meme-style image where a stronger jaw and sharper cheekbones are the joke. The result is a single 3:4 vertical image styled like a night-city street portrait, with a black hoodie under a dark technical jacket, a thin silver chain, cool storefront bokeh and hard side light, much like the cover image.
It is made for people who want a funny, shareable "expansion pack" version of their own face, not a serious edit. You choose how controlled or ridiculous the jaw gets, pick the cheekbone lighting and the camera angle, and the template tries to keep you recognizable while making the change obvious in the outline of your face.
What works best as input
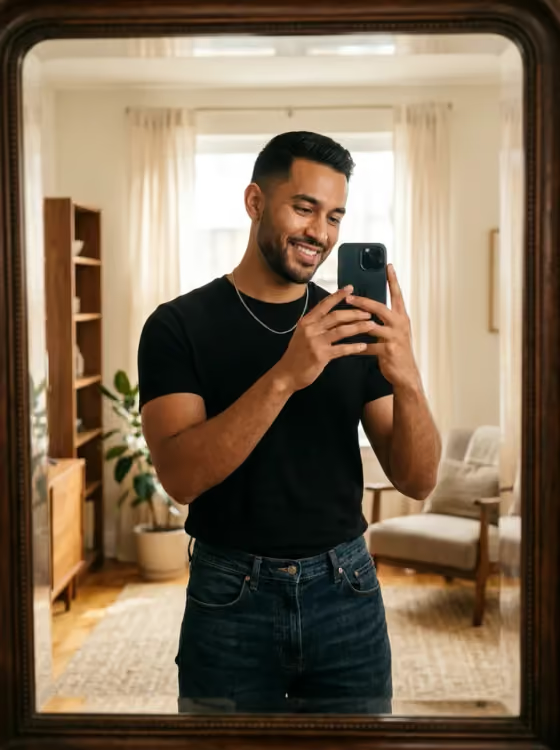
- Use one front or three-quarter portrait where your jaw and cheeks are fully visible. The template reads those areas to build the upgrade, so hidden edges give it less to work with.
- Pick a photo with even lighting and an unobstructed face. Hands, scarves, heavy shadows or hair across the cheeks can confuse the result.
- Choose a sharp, well-lit shot of one person only. Group photos or crops with several faces make it harder to know whose face should be transformed.
- Keep your usual expression and hairline visible if you can. The template aims to preserve features like your eye shape, nose, mouth and hairline, so a clear reference helps it stay recognizable.
- In the optional Anything else field, keep it short and concrete, such as a pose, an accessory or a color detail, rather than rewriting the whole scene.
How to use it
- Open the Jawline DLC template and upload your photo in the Your photo field.
- Pick a Jawline intensity (from clean subtle jaw upgrade up to absurd giga-jaw for memes), then choose your Cheekbones and Camera options.
- Optionally add a pose, accessory or color detail in Anything else, then generate the image.
- Review the 3:4 result. Check that it still looks like you and that the jaw change is visible in the outline of the face. If not, adjust a setting and generate again.
Tips for a better result
- Match the intensity to the goal. Clean subtle jaw upgrade or defined cinematic jaw suit a believable look, while exaggerated superhero jaw and absurd giga-jaw for memes lean fully into the joke.
- Choose a camera angle that shows off the jaw. The Camera help notes the angle should make the DLC obvious, so options like low-angle close-up or side-profile sculpture test can make the change easier to read.
- Pair the cheekbone style with the mood you want. Hard side light and dramatic noir face shadows read bold and cinematic, while soft model cheek structure is gentler.
- Try the same photo with different Jawline intensity and Camera combinations to build a small set of variations to compare.
Common mistakes
- Uploading a photo where the jaw or cheeks are covered or in deep shadow, which leaves the template little to build from.
- Setting everything to the most extreme options and expecting a subtle, natural result. Dial the intensity down if you want to stay close to your real face.
- Using the Anything else field to fight the template's setup, for example asking for several people or a split screen. The template is built to show exactly one person and one face.
FAQ
How many photos do I need?
Just one. Upload a single front or three-quarter portrait in the Your photo field.
Will it still look like me?
The template is written to preserve your recognizable features, such as skin tone, eye shape, nose, mouth and hairline. Results can still vary, so review the image and regenerate if it drifts.
Is this meant to be realistic?
It is meant to be playful. The jaw change is intentionally visible in the face outline, and the higher intensity options are built for memes.
Can I choose the outfit or pose?
The template styles the scene as a night-city portrait with a black hoodie and dark jacket. You can add extra pose, accessory or color direction in the optional Anything else field.