The Image-First Pipeline: How to Build Consistent AI Characters for Video
Character consistency breaks the moment you switch from images to video. Here's a two-step workflow that locks your design first, then animates it.
AI-assisted draft. Reviewed and edited by the Phosphene team before publication.
On this page
- The core principle: design first, animate second
- Step 1: Build a character sheet with image generation
- Step 2: Generate a storyboard grid
- Step 3: Animate with image references
- Step 4: Lip sync and audio (if needed)
- Step 5: Assemble and edit
- Cost management for longer videos
- Legal and ethical checklist
- Why this pipeline works
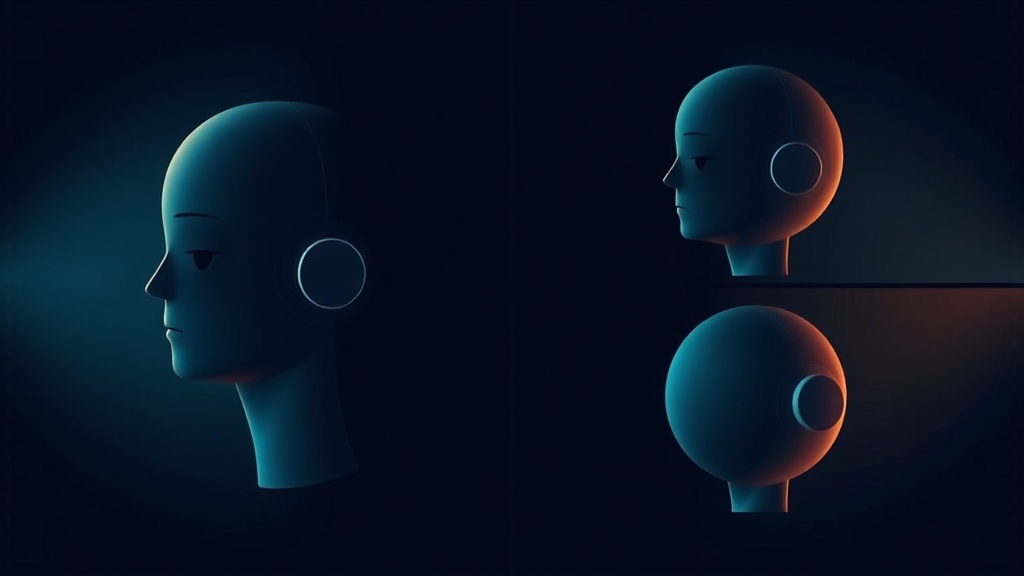
You can generate a beautiful character portrait in seconds. But the moment you try to turn that character into a video — multiple cuts, different angles, a full scene — the face drifts. Hair color shifts. The outfit changes between shots. This is the single biggest wall in AI video production, and most people hit it by accident.
The fix is not better video models. The fix is a pipeline that treats image generation as the foundation, not an afterthought.
The core principle: design first, animate second
Professional AI video creators in 2026 don't ask a video model to invent a character from scratch. They follow a strict two-step approach:
- Image phase — lock the character design, expressions, wardrobe, and storyboard as static images with full consistency
- Video phase — feed those images as references into a video model that respects them
This separation works because image models are far better at holding design details (eye color, clothing layers, proportions) than video models are. Video models excel at motion and temporal coherence, but they hallucinate visual details across cuts.
Step 1: Build a character sheet with image generation
Before any video, create a reference sheet. This is a single image (or set of images) that shows your character from multiple angles, with multiple expressions, wearing the exact outfit they'll have throughout the video.
A strong character sheet prompt includes:
- Front view, three-quarter view, and profile in one image
- 3–5 expression variants (neutral, smiling, intense, surprised)
- Fixed details: hair color and style, eye color, skin tone, clothing layers, accessories
- Art direction: specify "cel-shaded animation," "flat colors," or "cinematic" — match this to your video's intended style
The goal is a document that any downstream tool can use as a hard visual anchor. If your character sheet shows a woman with asymmetric silver hair and a navy trench coat, every video cut should preserve those exact elements.
In Phosphene, you can build this efficiently by layering tags: set the core subject tags (hair, wardrobe, build), add expression tags, and generate a multi-panel composition in one pass. The tag system keeps each attribute modular, so you can swap the expression without accidentally changing the wardrobe.
Step 2: Generate a storyboard grid
Once the character is locked, generate a scene-by-scene storyboard. This doesn't need to be polished — it's a planning document.
Create a grid of 6–16 panels, each representing one shot or scene transition. For each panel, specify:
- The environment (where the scene happens)
- The camera angle (close-up, wide, overhead)
- The action (standing, running, turning)
- The lighting (dusk, neon interior, overcast)
This storyboard becomes the shot list for your video phase. It also surfaces consistency problems early — if panel 3 shows a forest and panel 4 suddenly shows a desert, you'll catch it before spending video generation credits.
Step 3: Animate with image references
Now feed your character sheet and storyboard panels into a video model that supports image-to-video with reference locking.
The key prompt structure is:
"Using @character_sheet as the exact appearance reference, animate the character in @storyboard_panel environment. Maintain all visual details from the reference: hair, clothing, proportions. Camera: angle. Motion: action description."
Models like Seedance 2.0 and similar multimodal video generators accept multiple image references and can lock character appearance across cuts when explicitly instructed. The image references are doing the heavy lifting — the video model's job is motion, not design.
Step 4: Lip sync and audio (if needed)
For music videos or dialogue scenes, generate your audio first (vocals, dialogue, or a full track), then use a video model with native audio-reference support to sync mouth movement to the track.
The prompt pattern:
"Sync lip movement to @audio_reference. Match the emotion and intensity of the vocals. Ballad: gentle, intimate phrasing / Rock: powerful, energetic delivery."
Emotion instructions matter. Without them, lip sync looks robotic. With them, the same model produces performances that feel intentional.
Step 5: Assemble and edit
Import all video clips plus the audio track into an editor (CapCut, DaVinci Resolve, or similar). Two techniques make the difference between "AI clips strung together" and "a real music video":
- Beat sync — cut on the music's downbeats. This hides minor visual inconsistencies between cuts because the viewer's attention resets with each beat.
- Layer effects — duplicate a clip, offset it by a few frames, and reduce opacity to create a motion trail. This adds energy to chorus sections and masks generation artifacts.
Cost management for longer videos
Full-length videos (3+ minutes) at high resolution will burn through generation credits fast. The practical approach:
- Use short loop clips or near-static pans for verses and quiet sections
- Reserve high-quality, complex-action generation for the chorus or climax
- This contrast actually improves the video — quiet sections feel intimate, loud sections feel explosive
Legal and ethical checklist
Before publishing:
- Use original characters only. Generating a character that closely resembles an existing anime or game character creates copyright risk.
- If monetizing on YouTube or similar, check the commercial license terms of your audio generation tool (Suno, Udio, etc.). Free tiers typically don't include commercial rights.
- Watermarks or style signatures from training data can appear in outputs. Review each clip before publishing.
Why this pipeline works
The two-step approach — image first, video second — solves the consistency problem at its root. Instead of hoping a video model maintains your character across 30 cuts, you give it no room to deviate. The images are the contract.
This is also why investing time in the image phase pays off. A well-designed character sheet with clear art direction makes every downstream step faster, cheaper, and more consistent. Tools that make image generation more controlled — tag-based systems, reference image inputs, style locking — directly improve your video output quality.
Try the image-first approach in Phosphene: build your character sheet using layered tags, generate a storyboard grid, then export reference images for your video workflow. The character you design in the image phase is the character your audience sees in the final cut.