Train a Custom LoRA on AI-Generated Reference Images: No Photo Shoot Required
A complete starter pipeline for turning an original character design into a working LoRA: generate 20-50 consistent reference images with image models, caption them with a trigger word, and train locally or in Google Colab.
AI-assisted draft. Reviewed and edited by the Phosphene team before publication.
On this page
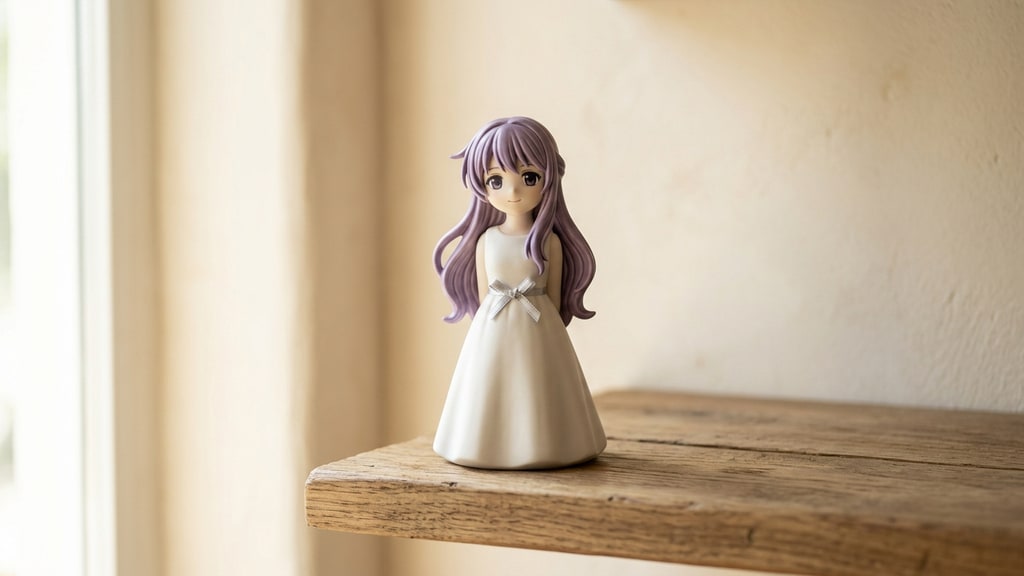
Most advice for training a character LoRA starts with a camera: shoot your subject from every angle, in good light, on a plain background. That advice assumes you have a subject. Most creators have a drawing, a moodboard, or a description that lives only in their head.
You can skip the camera entirely. The reference set can be generated.
A character-development guide published by AICU, written by illustrator zasuko, walks through this exact pipeline: generate 20-50 images of an original character with image models, caption them, train a LoRA, and end up with an identity that holds across prompts. For many characters, 20-50 images are enough for an initial, model-specific trial — results vary with the base model, dataset quality, captions, training settings, and target prompts. The interesting part is who this unlocks the workflow for. No camera, no actor, no cosplay, no sculpting. Just a character design and a few credits.
Why roll your own LoRA
Public LoRAs on Civitai and similar platforms are convenient and often excellent. They are also borrowed identities.
- License limits are common: no modification, no commercial use, no derivatives. A character you build a whole project around can become a legal headache later.
- The details are not yours. A public LoRA knows "purple-haired idol," not your specific eye shape, costume ornaments, or hair flow.
- The training data is mixed. Someone else's dataset leaks into the result.
A self-trained LoRA addresses all three: the identity comes from your own selected dataset, and you control exactly what the training set contains and can limit unwanted training-data influence. It does not erase every legal question — the LoRA remains subject to the base model and generator terms, source-image licenses, human contributions, and applicable law — but the dataset you train on is the one you chose.
What a LoRA actually is
Stable Diffusion class checkpoints hold billions of parameters and need millions of images to train. LoRA (Low-Rank Adaptation) freezes the base model and trains only a small set of added layers. That small file, usually a few megabytes up to a couple hundred, records a specific visual identity the base model did not have.
That is why 20-50 images can be enough for a first trial. The base model already knows how to draw faces, fabric, and light. The LoRA only needs to memorize which face, which outfit, which palette.
The trigger word is the handle. Put a unique token like hibiki_mei in every caption, and generation time becomes hibiki_mei, 1girl, idol, standing, smile, stage. The token binds the name to the visual traits. Half-width alphanumerics and underscores, no spaces.
The three-step pipeline
- Generate the reference set.
- Caption every image.
- Train.
Step 1: Generate the reference set
The guide's example character is Hibiki Mei, a purple-haired idol. The training set is 30 images, and none of them are photographs:
- 10 images from Gemini 3 Pro Image: "front view, smiling, white background"
- 10 images from GPT-Image 1.5: "side view, waving, simple background"
- 10 images from Nano Banana Pro: "looking back, peace sign, white background"
Three rules matter more than the exact model mix:
- Vary the angles. If every image is a front view, the model learns only front views and every output is a passport photo.
- Keep backgrounds plain. A complex background teaches the model the background, not the character. You want the subject to be the only consistent thing in the frame.
- Generate at training resolution. For SDXL that means 1024x1024. Images at 512 or below drag the result down.
Why this works: the image generator already has a consistent idea of what this character looks like. You are compressing that consistency into a small file, then reusing it in any scene. The tradeoff is real. AI-generated references carry the generator's face bias, so characters start drifting toward the same "default pretty face" if the prompts are not varied. If likeness to a real person matters, photographs beat generated references. If the character is fictional, generated references are often enough, and the shoot takes minutes instead of a studio day.
Step 2: Caption everything
Each image gets a matching .txt file with comma-separated English tags in Booru style. Auto-tag first with the WD14 tagger (threshold around 0.35), then clean up in the Dataset Tag Editor:
- Add the trigger word to every caption. This is what makes the name stick to the character.
- Remove background and composition tags only when they are incidental —
white background,upper body, orcowboy shotcan usually be specified at generation time, and in training they can add noise. Keep tags that describe attributes you want the training set to learn or control. - Keep per-image tags that describe what is actually happening:
smile,peace sign,waving.
A finished caption for one frame looks like this:
hibiki_mei, 1girl, solo, idol, purple hair, long hair, silver eyes, purple idol costume, standing, smile
The trigger word goes first. Everything shared across the set describes the locked identity; everything per-image describes the variation.
Step 3: Train
Two paths, same result:
- Local: StabilityMatrix plus the kohya_ss package. Pick an SDXL checkpoint as the source model, point kohya at the image folder, enable xformers, cache latents, and gradient checkpointing, then start training.
- Cloud: Google Colab. A free Colab runtime may provide a suitable GPU — typically a T4 — but availability and hardware limits vary, so treat it as a low-cost option rather than a guarantee.
Reference times from the guide, for 30 images and 5 epochs: about 40 minutes on an RTX 4060 Ti (16 GB), about an hour on an RTX 3060 (12 GB), about 90 minutes on a free Colab T4. Fifty images at 10 epochs on a 12 GB card runs closer to two hours. Under 8 GB of VRAM, drop to 512x512 with an SD1.5 base, not SDXL.
The output is a .safetensors file. That file plus the trigger word gives you the character in most prompts — the base model and the prompt still shape the final result.
Treat the LoRA as a versioned asset
Characters evolve. The guide's example ships as hibiki_mei_v1.safetensors, then hibiki_mei_v2_summer.safetensors after adding summer-outfit images and retraining. Each version is a snapshot of the identity at a point in time, and old scenes keep working because old generations already exist.
That versioning habit is the part most tutorials skip. A character LoRA is not a one-time artifact; it is the character file of your project, and it should be treated with the same care as a rig or a brand kit.
When to skip the LoRA
Training still has a cost: a few credits or hours of compute, plus captioning time. For a one-off scene, or a character that appears three times, it is overkill. Reference-based generation covers those cases with less work.
Training pays off when the same identity must survive dozens of outputs across different scenes, outfits, and lighting. That is the threshold worth remembering. Below it, a reference pack is faster. Above it, a LoRA is the difference between a character and a collection of similar-looking images.